
Clear the Crawlspace Before the Rains: Fall Under-House Cleanout in Metro Vancouver
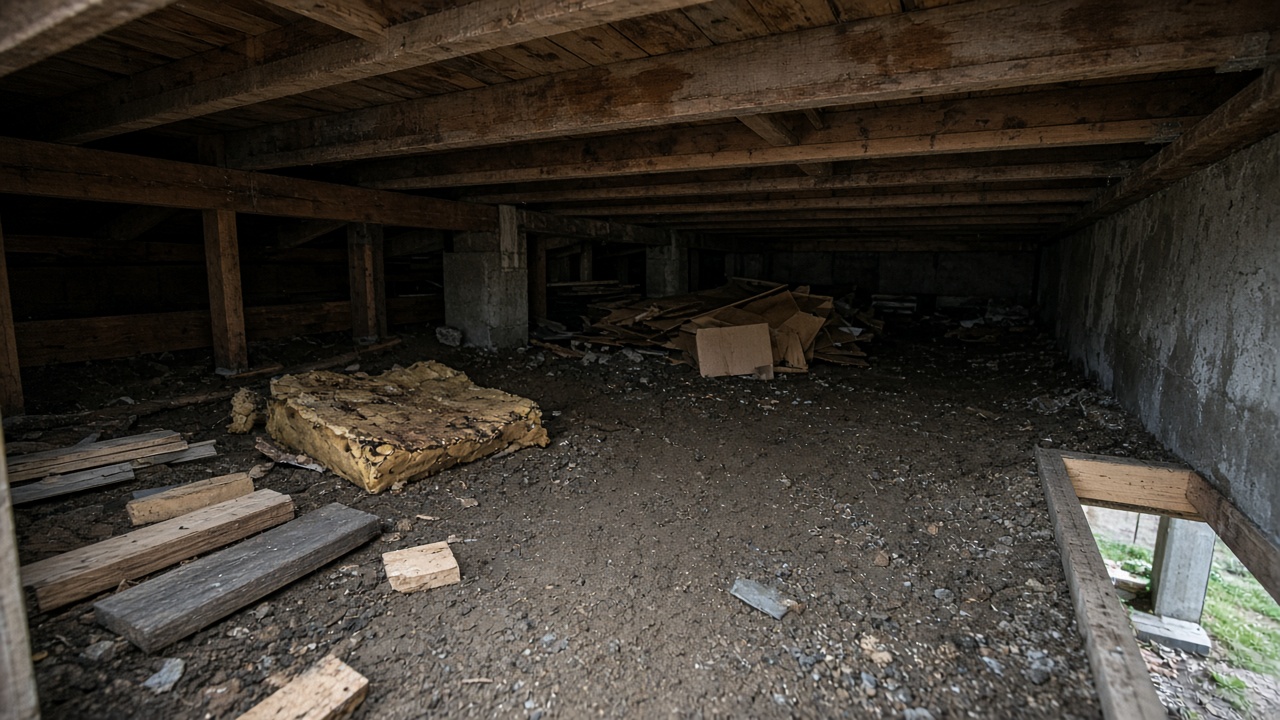
If the space under your house has become the default dump zone for old boxes, scrap lumber, failed foam, leftover reno bits, and forgotten junk, October is the window to clear it — before Metro Vancouver’s wet season soaks the crawlspace and turns that pile into a moldy mess. Crawlspaces stay cool and damp. Cardboard softens. Foam and lumber wick moisture. Every week you wait, the hatch gets harder to open and the “we will deal with it later” stack grows.
This is not a pre-rain basement cleanout. That post is for finished or below-grade living and storage basements with stairs, rooms, and standing-height access. It is also not a garage, attic, or shed job. This post is the unfinished crawlspace / under-house plan: sort what is leaving, stage a clean haul near the hatch, and reclaim the under-floor space before sustained rains lock everything in damp for the winter.
Why fall crawlspace timing matters in Metro Vancouver
Homes across Metro Vancouver and the Fraser Valley share the same under-house pattern every autumn: summer “temporary” storage never left, scrap from a finished project still under the floor, and “we will clear it before the rains” became the plan — until the first week of real wet weather.
Decide what is leaving the crawlspace — then pick a dry afternoon to stage it for the truck.
What typically piles up under the house
Think unfinished under-floor overflow: forgotten storage, leftover building materials, and items that never earned a real shelf upstairs.
Old boxes, soft cardboard, and forgotten totes
Soft cardboard and mixed rubbish often fit garbage disposal. Mixed household junk fits residential junk removal or multiple items.
Scrap lumber, insulation scraps, and leftover reno bits
This is storage leftover, not an active job-site wrap. For live construction hauls, see fall reno debris wrap-up. Leftover building materials already under the house often fit post-construction cleanup.
Abandoned gear, furniture pieces, and paint cans
Furniture-heavy loads fit furniture disposal. Flag paint, solvents, and chemicals when you book — ask what can be included and check Metro Vancouver disposal rules; do not assume every hazardous item rides with a general load.
What this post is not about
Keep stacks separate: pre-rain basement for finished/below-grade rooms; pre-rain garage for attached/at-grade clutter; fall attic storage for upstairs hatch space; and fall shed workshop for the backyard outbuilding. Yard green waste and active reno wrap stay on their own posts. If the house has both a basement and a crawlspace, decide the primary job first.
Safety and access realities under the house
Crawlspaces are not standing-height storage rooms. Low clearance, limited lighting, vapor barrier on the ground, and tight hatch openings change how junk leaves the property. A professional crew handles the haul out of awkward spaces so you are not dragging lumber solo through mud. This is a junk and debris removal job — not structural work, waterproofing, or mold remediation. Clear the clutter; talk to the right trade later if you need moisture or insulation upgrades.
When you request a quote, note hatch location (interior closet vs exterior side-yard), approximate clearance, and whether a path to the driveway already exists. Photos of the open hatch and the main piles help more than a long text list.
Decision framework: keep, donate-recycle, or haul
Walk the crawlspace once (or review phone photos from the hatch) with three mental piles.
1. Keep — only sealed, labeled items with a real near-term plan and a dry, elevated spot. Unused for a year with no plan? It is not keep.
2. Donate / recycle — dry, complete, usable items a charity can still accept; scrap and clean cardboard when diversion is possible on the load. Broken, damp, or moldy gear usually fails donation standards.
3. Haul — soaked boxes, scrap lumber, insulation scraps, leftover reno bits, abandoned gear, failed furniture pieces, and mixed junk you will not sell.
If the keep pile fits in one sealed tote off the ground and the rest is junk, you are ready to book. Wet season does not make crawlspace sorting easier.
Prep checklist for crawlspace pickup day
Crawlspaces often mean exterior hatches, side-yard paths, fences, and soft ground. A little prep keeps the truck turn short. See also how to prepare for junk removal pickup.
Before you request a quote
1. Photograph the open hatch and main piles — wide shot plus lumber stacks, boxes, and heavy pieces
2. Note access — hatch type and location, side-yard path, parking distance, gates, or stairs if any
3. List awkward items — long lumber, foam sheets, furniture pieces, or anything that may need two people
4. Flag special materials — paint, solvents, chemicals, and unknown liquids; ask when you book and check metro rules for hazardous disposal
5. Protect the path — clear a run from hatch to driveway or curb before pickup day
Staging day
Pickup window
When DIY vs pro makes sense
Match the booking to the pile and the clearance:
DIY works when the hatch is easy, the load is light, and you already have a dry staging zone. Pro makes sense when clearance is low, the path is muddy, lumber and foam are awkward, or you want one controlled haul before the rains settle. Quotes depend on load size, hatch and path access, and how much must be brought out before loading. Pricing depends on the specifics of your crawlspace — use Get a Free Quote instead of guessing from someone else’s list.
A practical fall countdown (before the rains settle)
You do not need a month-long project. Work from the first dry weekend you can meet a truck.
This week
Staging week
After pickup
Early October is still a workable dry-staging window before muddy hatch trips get harder.
Ready to clear the crawlspace before the rains?
If the hatch opens onto old boxes that will mold, scrap lumber and insulation scraps, leftover reno bits, abandoned gear, or forgotten junk soaking under the house, finish the cleanout while Metro Vancouver still gives you a workable afternoon.
Get a Free Quote — or call (604) 358-2328.
Go Junk Go serves Metro Vancouver and the Fraser Valley with residential junk removal, garbage disposal, furniture disposal, post-construction cleanup, same-day junk removal when scheduling allows, and multiple-item pickup. Email info@gojunkgo.ca if calling is harder.
Ready to Get Started?
Contact GoJunkGo today for professional junk removal services in Vancouver. We're here to make your cleanup easy and eco-friendly.
Get A Free QuoteRelated Articles
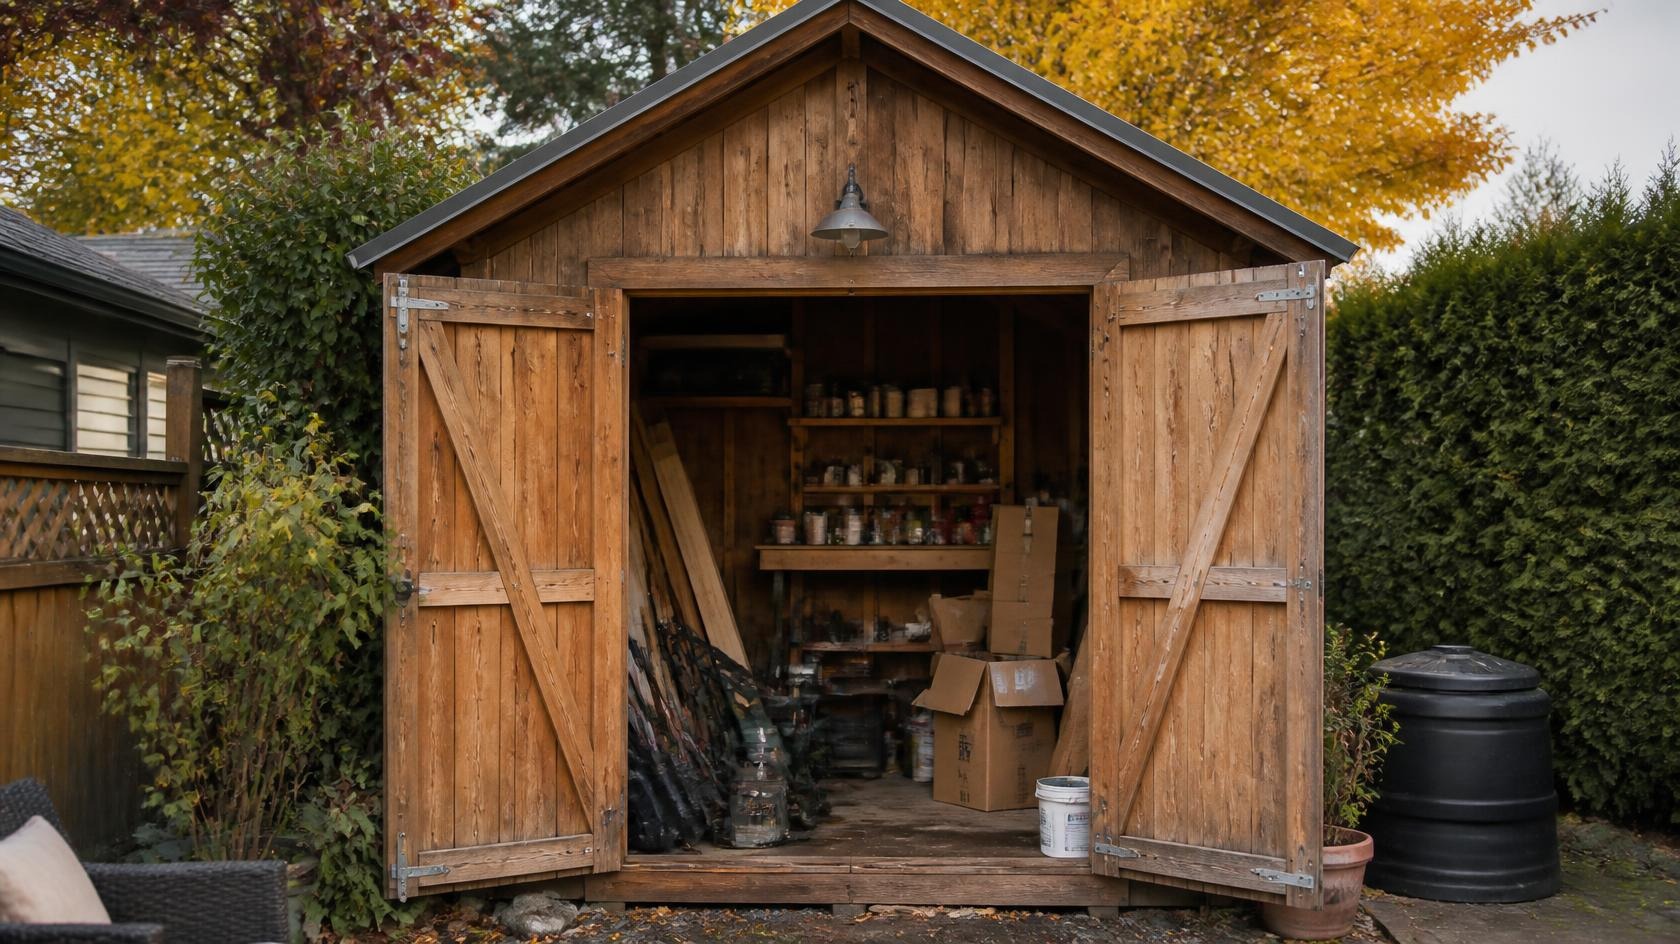
Clear the Shed Before the Rains: Fall Workshop & Garden Shed Cleanout in Metro Vancouver
Packed garden shed or workshop? Clear rusty tools, half-used paint, broken gear, and leftover reno piles before Metro Vancouver's wet season turns them into a moldy mess.
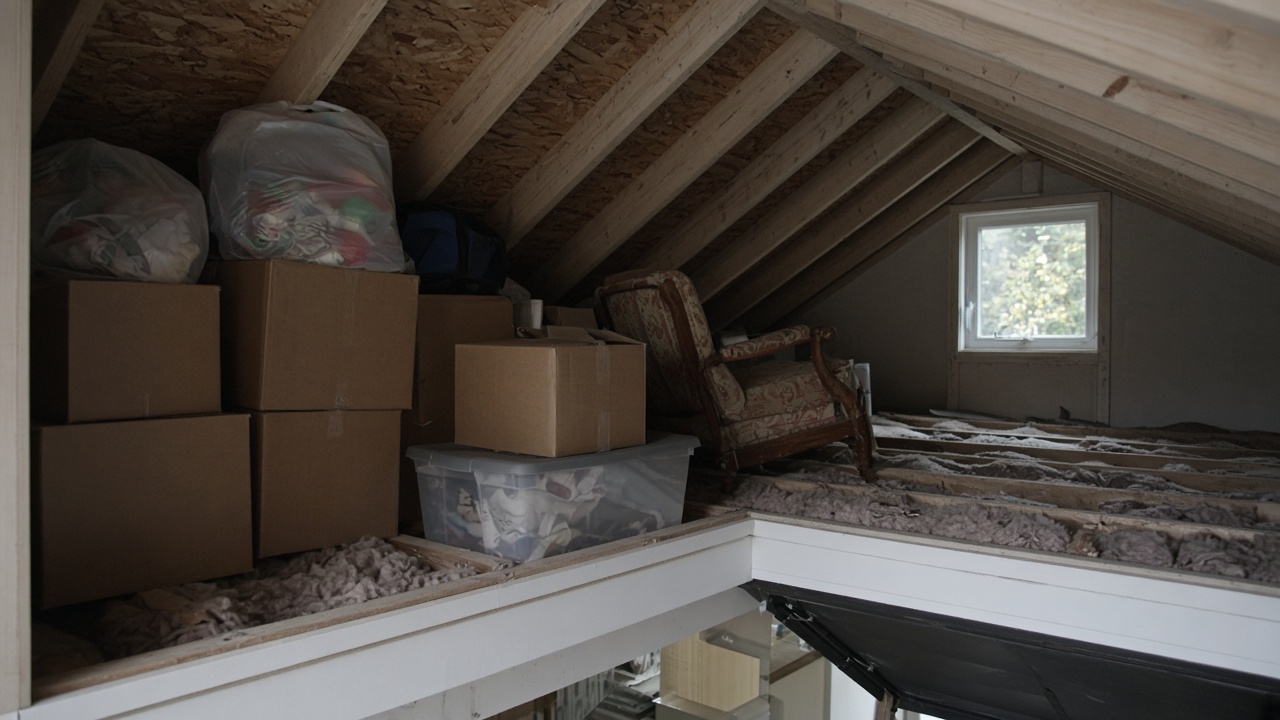
Clear the Attic Before the Rains: Fall Upstairs Storage Cleanout in Metro Vancouver
Packed attic or upstairs storage? Clear boxes, décor, and forgotten furniture before Metro Vancouver's wet season — before condensation and holiday clutter collide.
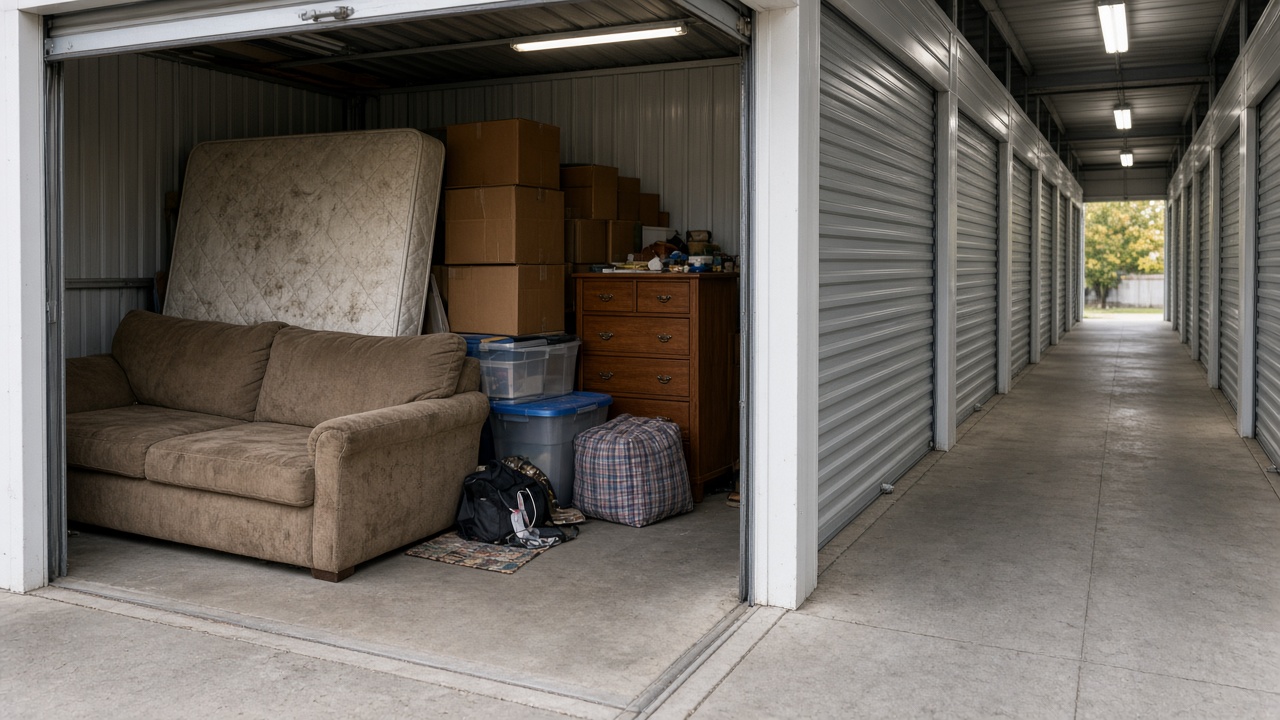
Still Paying for a Storage Unit This Fall? Clear It Before Metro Vancouver's Wet Season
Still paying for a packed storage locker this fall? Clear furniture, mattresses, and junk before Metro Vancouver's wet season — then cancel before winter rent.